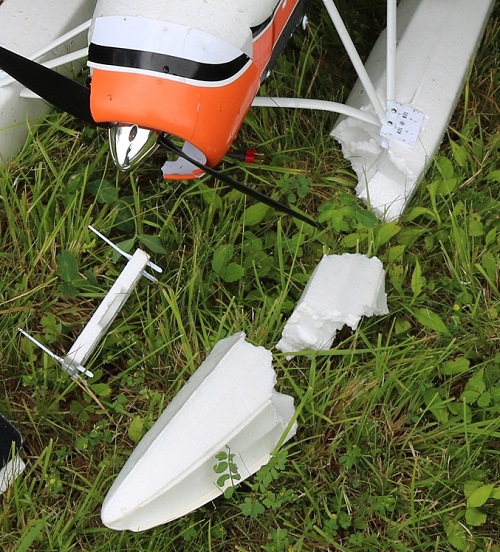
I was flying off the lake having a good time flying a counter clockwise pattern. Nearing the end of the flight I performed two landing approaches in a counter clockwise pattern. While making the downwind leg, I decided it would be better to cross over so the base leg was a clockwise turn. Before I knew it, the trees block my view. For a few moments which seemed like an eternity, it was out of site. When it came back into view, it was heading straight down into the water. There was only minor damage. My repair techniques follow.
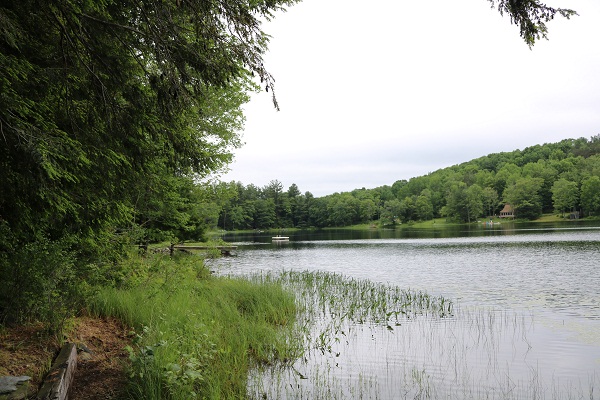
You can see what blocked my view, the trees on the left.
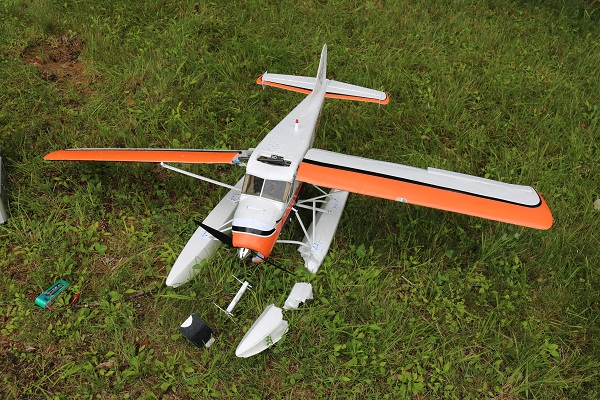
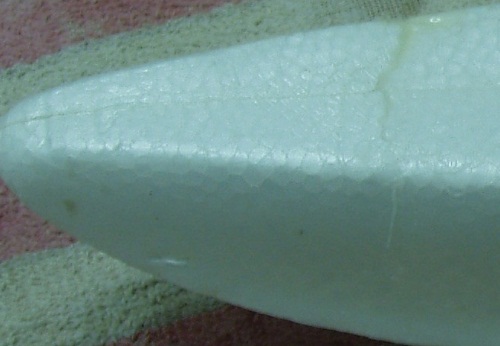
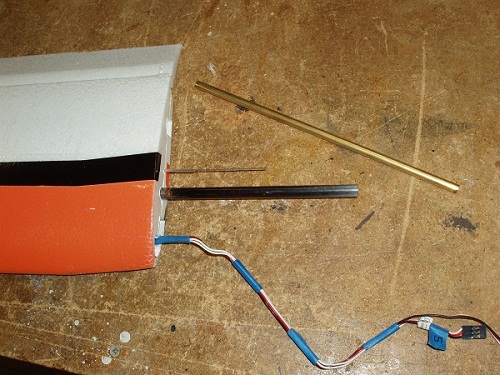
Minor, repairable damage
The two float spreader braces were bent. I was able to bend them back into shape by hand.
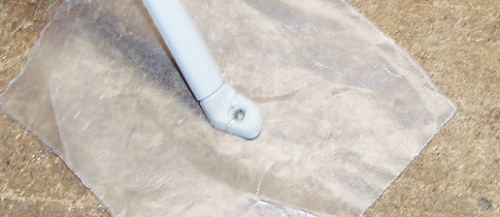
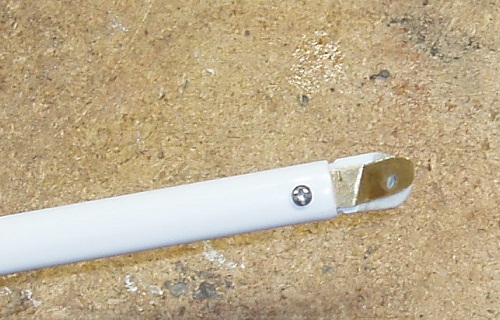
I had two broken struts mounts that needed to be repaired, one attached at the float, and the other at the fuse.
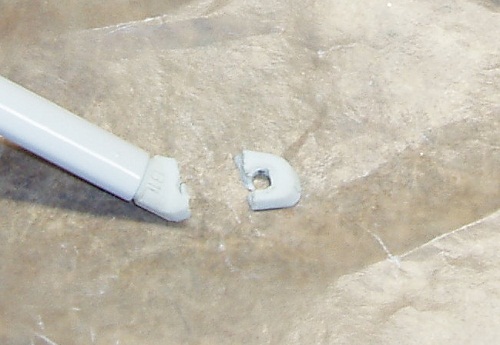
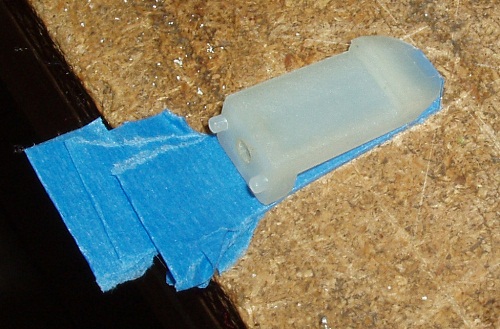
This is the broken plastic mount that mounts to the float.
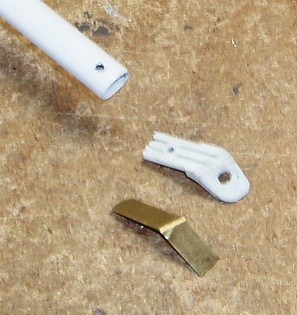
I used thick CA to glue both parts together. You can see the wax paper I used to keep the part from sticking to the bench.
I decided to use K&S Precision Metals Brass Strip 0.016 x 1/4" for strength. http://www.ksmetals.com/29.html
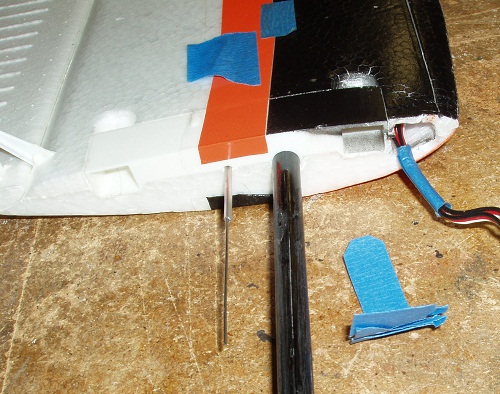
The plastic mount is oval shaped to slide into the strut. This needs to be sanded down to allow the 0.016" brass strip to fit inside the strut.
I used a 1" belt sander. Sand a little at a time and then check the fit. You do not want to sand off too much material. Just enough for a snug fit.
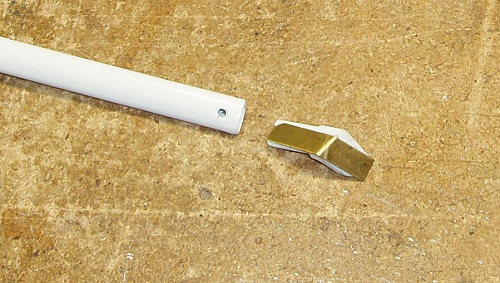
The parts ready to be reassembled.
Test fitting the parts. Notice some grinding will be necessary to conceal the brass strip.
Here I am testing the fit after some grinding and drilling holes in the brass strip. Now the strut is ready to be mounted.
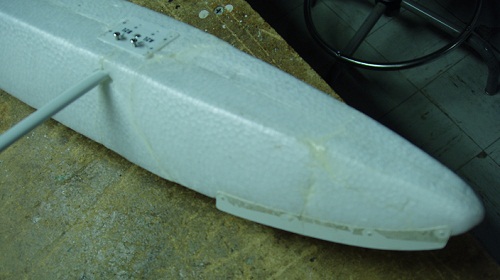
All parts of the float have been recovered, which is a very important step in the recovery process.
I used Beacon Adhesives FOAM-TAC FOAM-FINISH http://www.beaconadhesives.com/product/foam-finish/ to glue the foam parts together, which provides a water-resistant finish.
The float after all parts have been glued together.
Another view
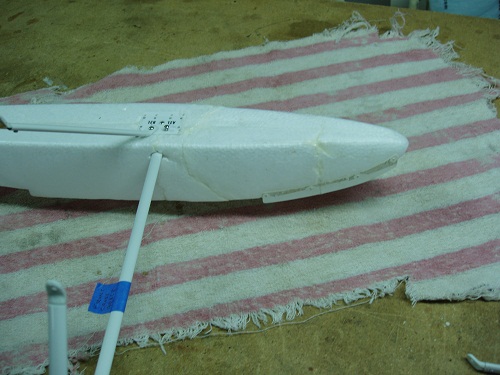
Here are some close ups images of the results.

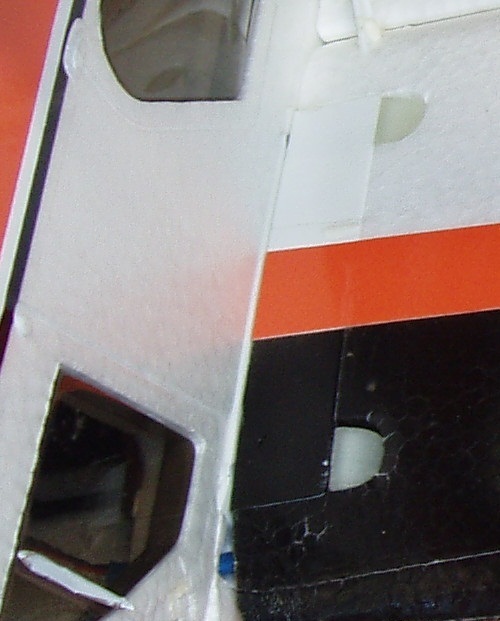
The wing strut mounting hard point pulled out of the wing.
I used White Gorilla Glue to glue the hard point into the wing. http://www.gorillatough.com/product/white-gorilla-glue/
I used a tooth pick to spread a small amount of glue inside the hole and then pushed in the hard point.
The glue expands, and will push the hard point out if you don't hold it down. As the glue oozed out, I wiped it up with a Popsicle stick, and used a paper towel slightly dampened with denatured alcohol to wipe up the excess as it was curing.
Here is the finished result.

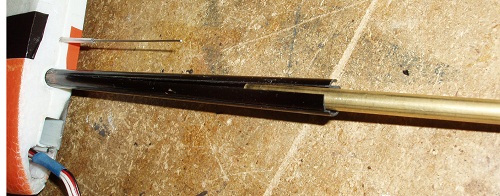
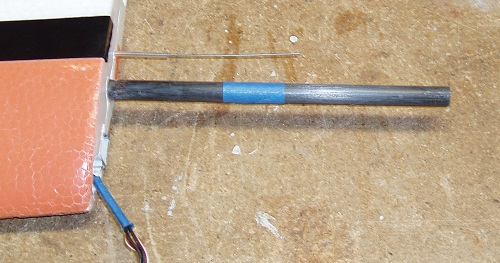
The carbon fiber wing tube was splintered. One thought was to use a brass tube inserted inside the carbon fiber tube for additional strength.
This is what the carbon fiber wing spar looked like after removing the wing. Notice how it splintered down its length.
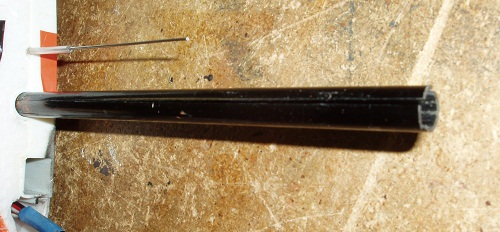
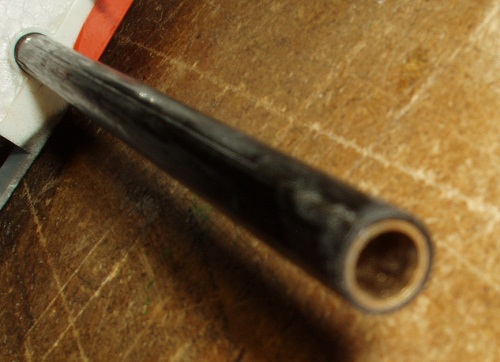
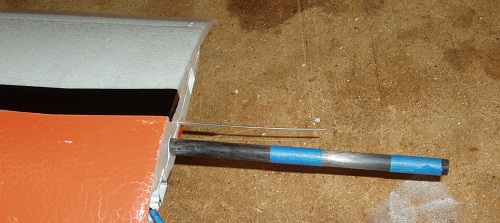
Another view, I'm checking to see if a brass tube will fit inside. A was a perfect fit.
I slid the brass tube inside the spar until it bottomed out to determine the length needed. You can see how far the tube protrudes into the wing.
And it needs to be flush at the outer end that butts up against a plastic plate inside the cabin.
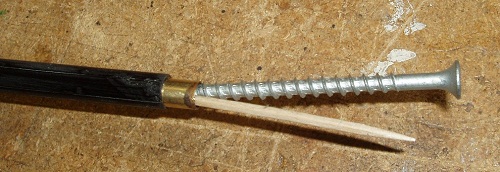
To provide a handle to remove the brass tube, I partially inserted a toothpick and screwed in a deck screw by hand until snug. Now I can pull the brass tube out before gluing the splintered carbon fiber tube.
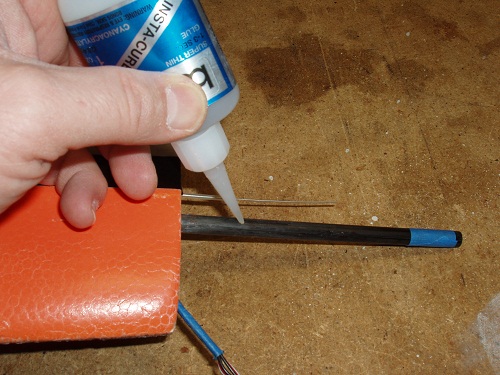
Before gluing the spar, I again inserted the brass tube to provide support while I taped the center and end to hold the splintered carbon fiber tube together.
I wanted the brass tube to be removable, so it was removed before any gluing.
While holding the wing with the spar pointing down, I dripped on Super Thin CA. just enough to glue 1/3 of the spar, starting about 1 inch from the wing so the CA does not melt the foam. While the CA was still wet, I used a paper towel to remove the excess
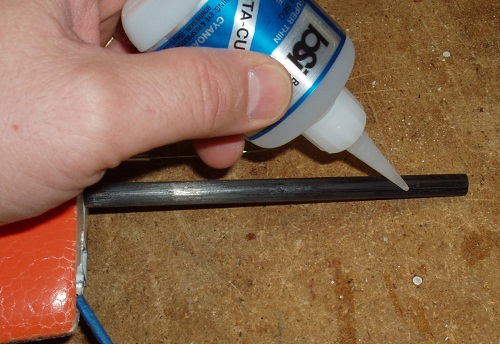
Then I removed the tape from the end of the tube, and glued the end using the same process as before.
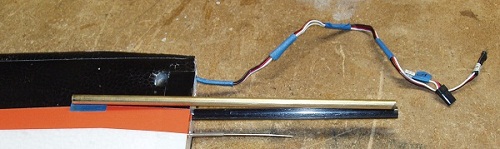
Here, the carbon fiber tube has been glued. The wing with the brass tube insert is ready to be attached to the fuse.
After assembling the wing, I notice the leading clip on the right wing did not catch on the plastic lip.
Notice how the leading edge clip is depressed into the wing.
I decided to use 3M blue painters tape as filler material to slide under the clip to make a tighter fit. http://www.scotchblue.com/3M/en_US/scotchblue/products/painters-tape/
I placed about 5 strips of tape over each other on my bench. Then I cut around the clip with a sharp razor blade.
Ready to insert the strips into the slot.
You can also see how I used the tape to keep the servo wires together.
I reattached the wing retaining clips.
With the filler material under the plastic tab, it now catches to hold the wing to the fuse.
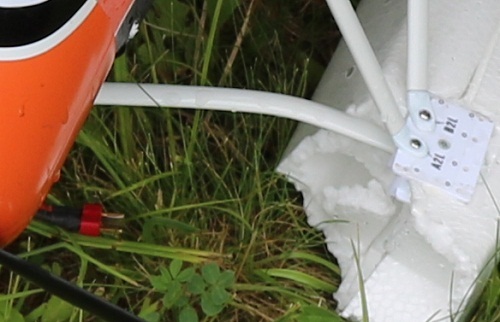
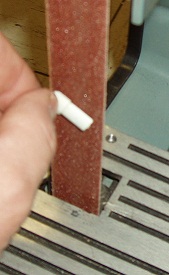
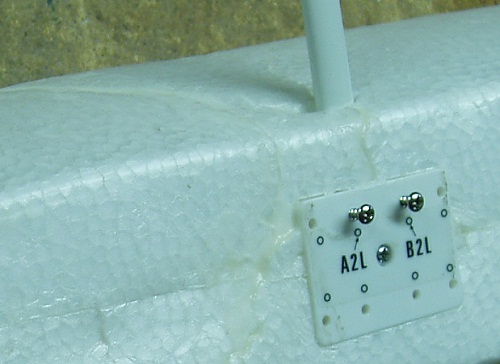
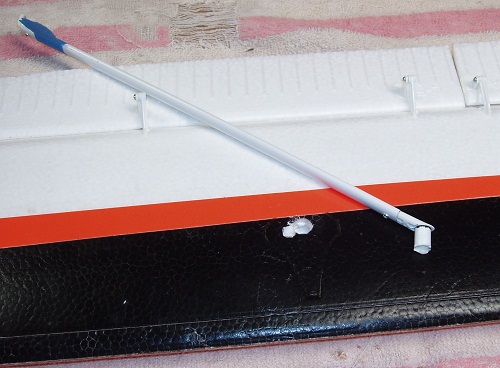
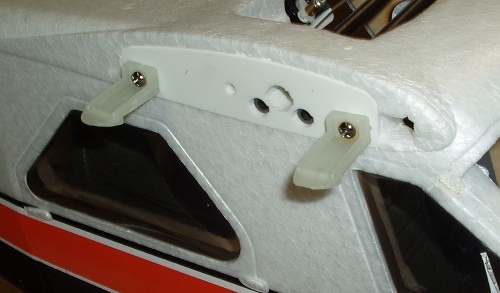
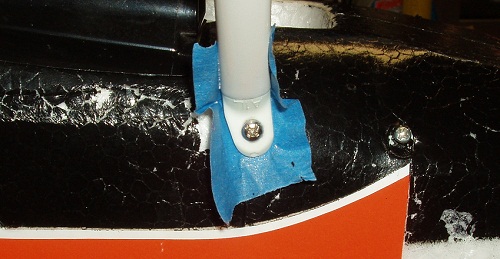
The float strut hard point pulled out of the fuse.
I used White Gorilla Glue to glue the hard point into the fuse. http://www.gorillatough.com/product/white-gorilla-glue/
A tooth pick was used to spread a small amount of glue inside the hole. Then I inserted the assembled hard point and strut into the hole. With the opposite end of the strut loosely attached to the wing, it holds the hard point in perfect alignment while the glue sets up.
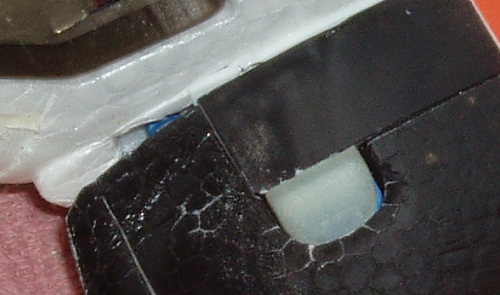
I placed a piece of blue tape between the hard point and strut to prevent gluing them together.
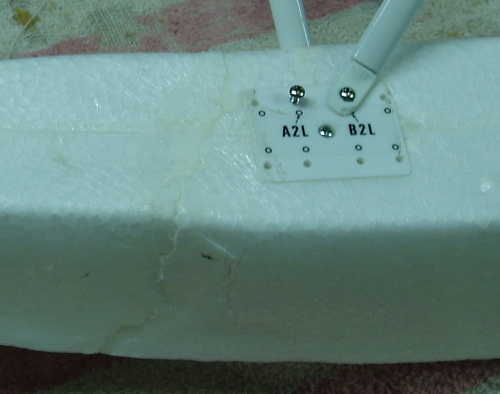
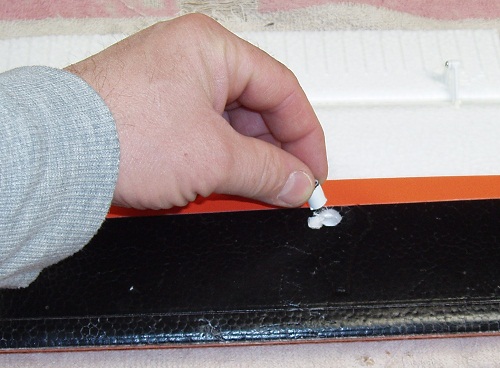
After about 10 minutes, I used a tooth pick to remove excess glue as it expanded out of the fuselage.
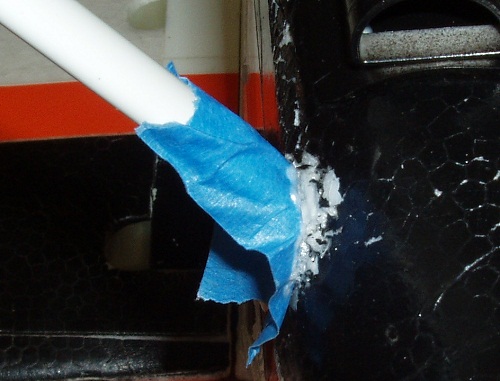
Here you can see the glue oozed out of the hole.
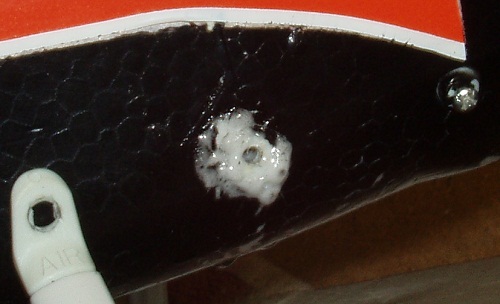
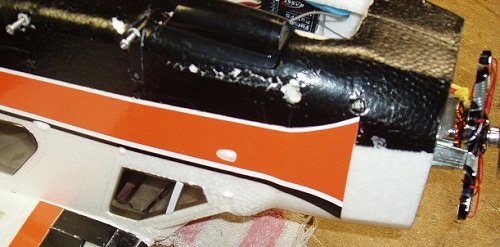
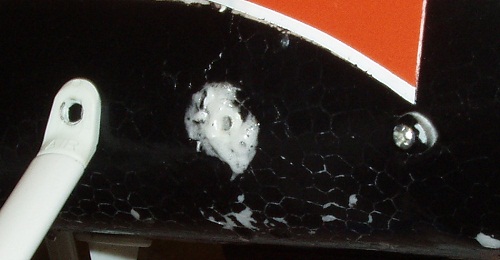
I used a clean razor blade to cut the glue flush with the fuse.
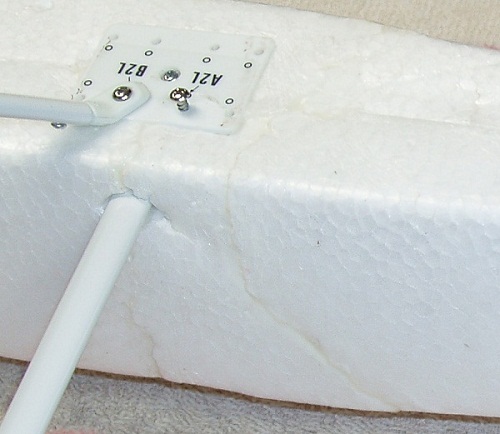
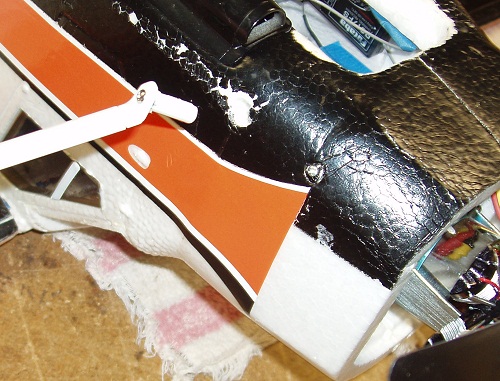
All parts assembled.
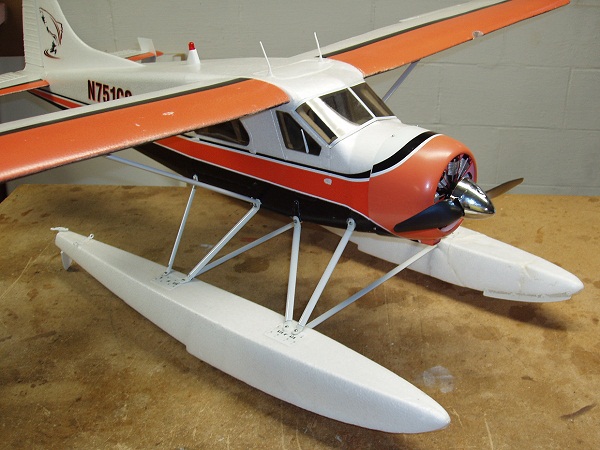
Almost ready for some more flight time.